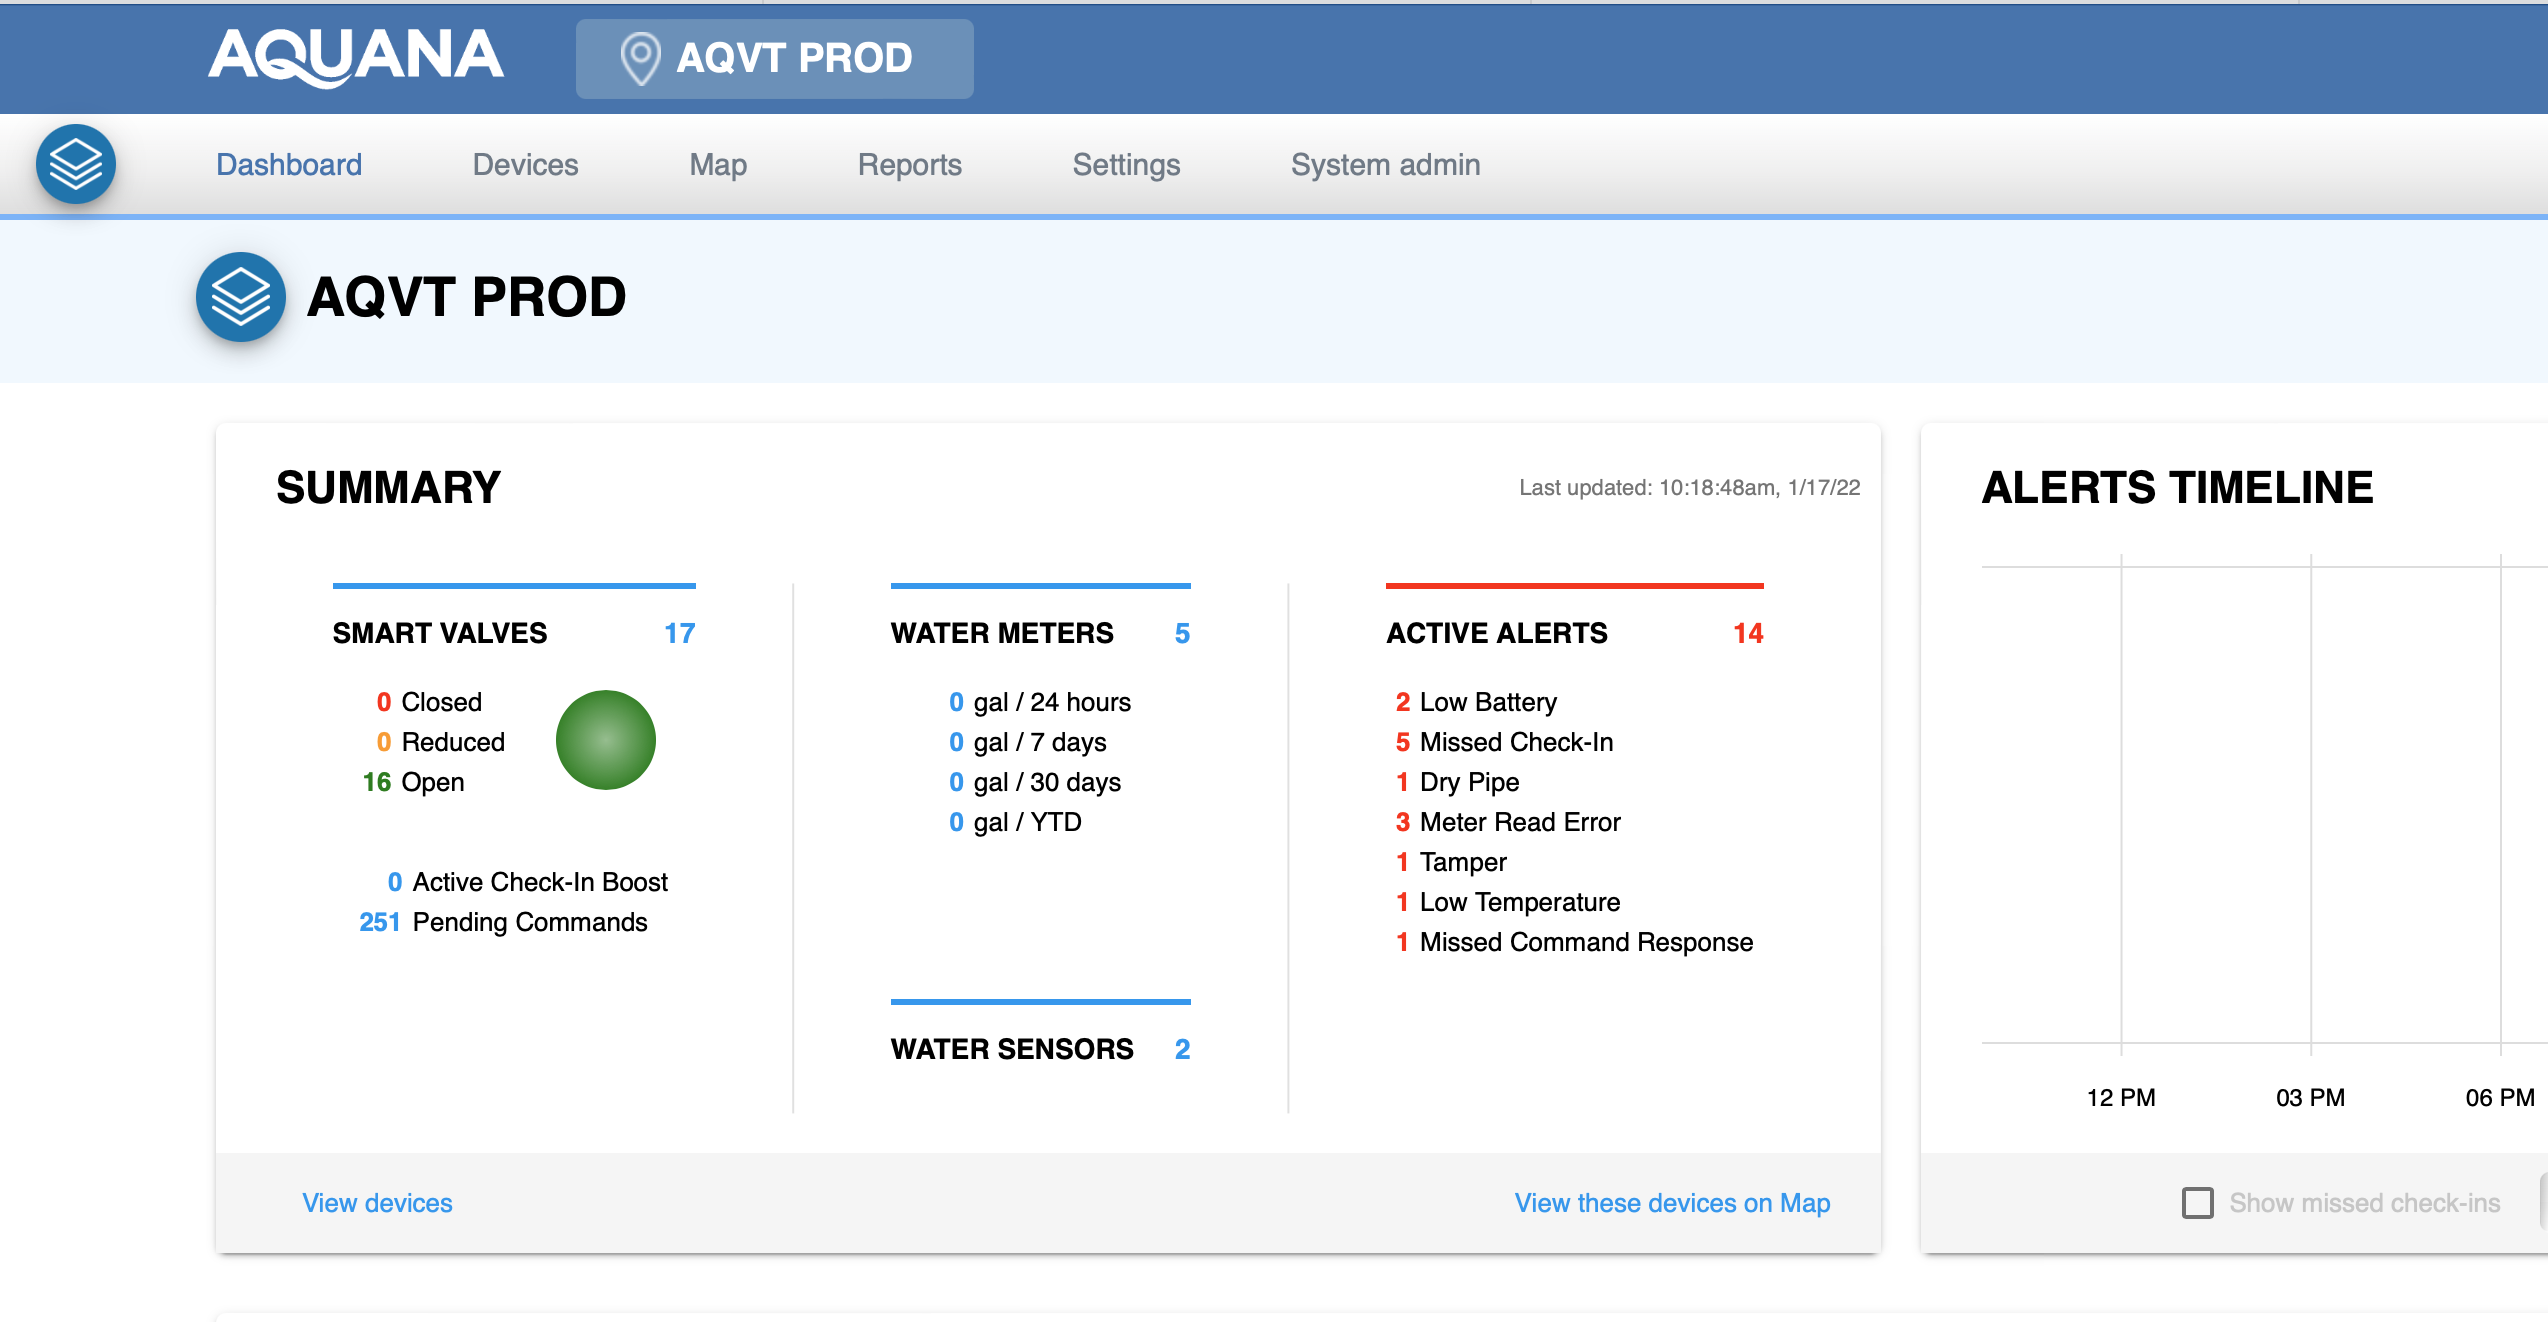
These instructions will show you how to change the position of a specific valve to OPEN, CLOSED, or REDUCED through the Aquana Web App.
- Log in to the Aquana Web App using the email and password that were created for your account.
- Click the Location Selector button at the left end of the silver navigation bar.
 This will bring up a list of all locations within your Platform Account. Also see the Aquana Knowledge Base article "Finding a Device in the Aquana Web Application" for other options for how to locate a device in your Platform Account.
- Click on the Location name for the desired valve. This will bring you to the Location Dashboard with information about the devices that are installed in that location.
- Scroll down to the Devices in this Location section of the page. Click on the picture of the desired Aquana Smart Valve in this location.

- This brings you to the Device Details page containing specific information about the valve.
- Click the Valve Control button at the top left corner of the page.

- This brings up the Valve Control dialog box which shows the current position of the valve on the left, and provides a drop-down menu of other positions on the right. Select the new desired valve position from the drop-down.

- Click the Create Command button. A command will be created to activate the valve to the new desired position.

- The Pending command badge will appear at the top of the Device Details screen.

- By default, the command will be sent to the valve at the next scheduled check-in. When the command is successfully sent the Command sent badge will appear at the top of the Device Details screen.

- See Knowledge Base Articles Understanding Check-In Interval, Understanding Check-In Boost, and Understanding Command Status for more information about behavior of the position change command once it has issued successfully.
